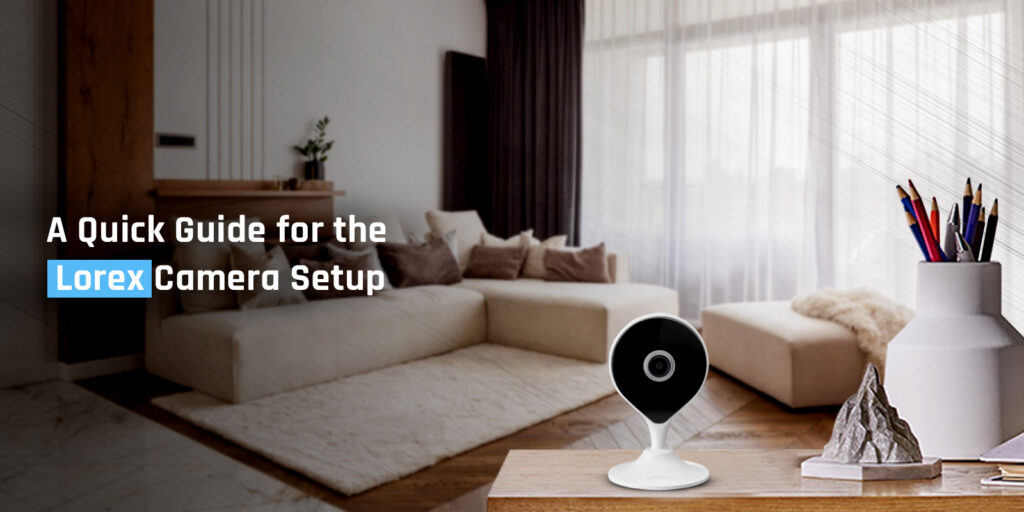
Lorex camera system setup is all about configuring your camera with the Lorex Home app and then connecting it to the WiFi network. The Lorex camera setup includes a WiFi camera and requires connecting to the wireless network in order to work and share video feeds. The camera comes with pretty innovative features and these features can only work when you have a home WiFi network.
Well, there is a pre-set notion among the new Lorex camera users that it is very difficult to set up any wireless camera and that one requires calling a professional technician for this task. With this belief, most new users end up calling a technician at their homes to get their new cameras set up only to spend a few hundred dollars. These technicians or experts do not leave with an offer to provide you with after-setup services.
This is where we come. With this post, we intend to help countless Lorex camera users set up their new cameras without any hassle. No need to call a technician and spend dollars on a task that a 15-year-old child can also perform.
Let’s discuss the Lorex camera system setup and some other things that you need to learn if you have recently bought a new home security camera.
Prepare for the Lorex camera setup
Before you could directly jump to the Lorex camera system setup and configuration, you are required to meet certain requirements. Unless you meet these requirements, you won’t be able to configure your new camera without any hassle.
Please find the points below:
- A new Lorex camera
- Power cable for the camera
- A suitable location
- A power outlet nearby the location
- WiFi network
- SSID and WiFi password
- Smartphone or tablet
Simple steps for the Lorex camera setup
When you are done with the requirements, you can proceed to set up your camera without any hassle. We have discussed the Lorex system setup instructions in a step-by-step manner. Kindly ensure that you follow the steps very carefully:
- Attach the power cable to the camera and turn it On.
- Once the device is ready to setup, the light will flash green.
- After that, download and install the Lorex app on your device.
- The Lorex app is a mobile app and you can download it from the Play Store or App Store.
- Thereafter, open the Lorex app for the Lorex camera setup process.
- You will be required to create an account in order to login.
- Once you create an account, you can use the account credentials to login to the app.
- Tap + in the middle of the app screen and the QR code will appear on the screen.
- Direct your mobile’s screen towards the camera’s lends.
- To proceed further with the Lorex security system setup, you need to connect it to the WiFi network.
- Choose your home network and enter the WiFi password.
- Once the device connects to the network, you need to create a device password.
- Give a personalized name to your camera and you’re done.
Finally, the Lorex camera setup will be completed successfully and you just need to mount your camera at a suitable place.
Why do I face Lorex camera system setup issues?
If you are facing issues with your Lorex camera setup, it could be happening because of multiple reasons. Here are some of the reasons that might be causing you to encounter these issues on your camera:
- Firmware outdated on the camera
- Camera not within the router’s network
- Incorrect WiFi password
- Incompatible network frequency
- MAC or IP filtration service active on the network
- VPN service enabled
How to fix the Lorex security system setup issues?
In this part of the page, you will learn how to get rid of the issues while attempting to set up your Lorex camera. Kindly follow the troubleshooting steps below:
- Make sure the battery of the Lorex camera is fully charged.
- The Lorex camera should be well within the network range.
- Make sure the firmware of the camera is updated to the latest version.
- The router should also be updated to the latest firmware version.
- Login to your home WiFi network to cross-check whether the MAC or IP filtration service is active.
- The VPN service should also be disabled.
- When going about the Lorex camera setup, kindly enter the correct WiFi password.
- The Lorex camera will be set up successfully.
Final thoughts
This page was all about the Lorex security system setup and configuration. We discussed how you can go about the Lorex camera setup and installation without having to call a technician. With this post, you can save a few hundred dollars very easily.
We hope this Lorex camera configuration guide was helpful to you and that you were able to go through the initial setup without any fuss. If you still come across any issues or queries, make sure you contact our support team for more help.