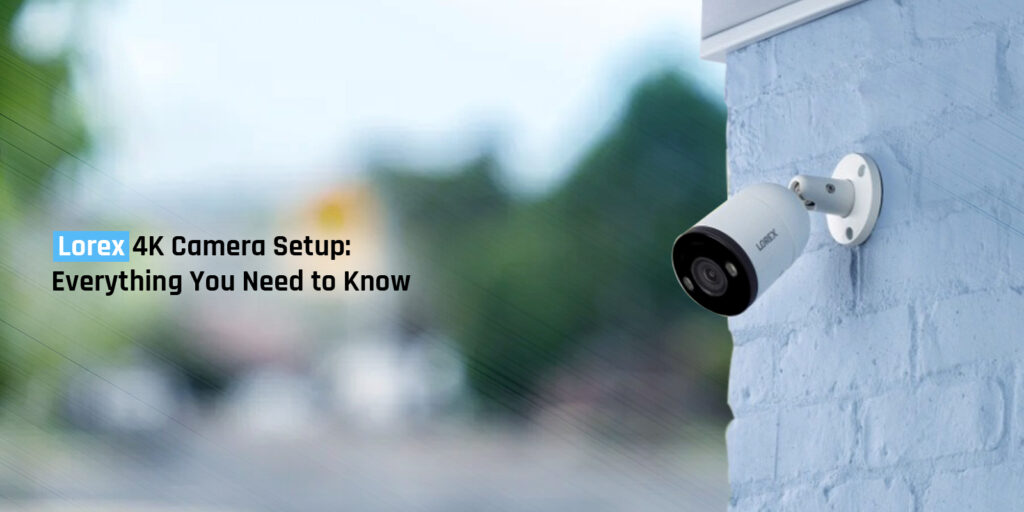
The Lorex camera is one of the best home security cameras of all time. This camera offers several features to users. With the help of this camera, you can expect proper protection in your home. That’s why you must install the camera and proceed with the Lorex 4K camera setup correctly. You must find the most appropriate location for the camera. If you install it incorrectly, it will not provide much benefit to you. That’s why it’s imperative to install and set it up properly.
For the Lorex camera setup, you just require the correct instructions. With the right assistance, you can set up the camera easily. Thus, we have brought you the ultimate guide to help you with the Lorex camera setup. Moreover, we’ll also discuss the issues you could face during the setup and the methods you can use to fix the issues.
Requirements for the Lorex 4K Camera Setup
Before you proceed with the Lorex camera setup, you must unbox the camera. There is some equipment you will receive with your camera that is crucial for the setup. Thus, you must unbox the camera and ensure you have all the necessary equipment. These items are as follows:
- DVR/NVR
- Ethernet cables
- HDMI cable
- Remote control
- Mouse
- User manual
These are some articles you will receive that are essential for the Lorex 4K camera setup. Also see other blogs.
Pre-Lorex 4K Camera Setup Installation
To install the camera, you must choose the most correct place for the camera. Then, you can install it correctly. The steps to install the camera are as follows:
- Initially, plug the DVR/NVR into a power source and power it on.
- Now, plug an Ethernet cable into the DVR and the other into the router.
- Hereon, connect the DVR and your TV or monitor using an HDMI cable.
- Also, connect the cameras to the DVR using the given cables.
- You can test the cameras before you mount them.
- After that, connect your recorder to the router using an Ethernet cable.
- Further, connect the mouse to the recorder using a USB cable.
- Finally, ensure to power on the DVR and the TV.
These are the installation steps you must execute before the Lorex 4K camera setup.
Steps for the Lorex 4K Camera Setup
Now that the installation is complete, we can proceed with the Lorex camera setup. You can set up the camera through the DVR correctly. The steps for this are as follows:
- To begin with, turn on the monitor and ensure the camera has sufficient power.
- Now, you can follow the on-screen instructions and set up the camera correctly.
- Hereon, through the user interface you can configure the settings.
- Ensure to set up a strong login password to keep away hackers.
- At last, you can watch the live stream whenever you want from the DVR.
These are the steps for the Lorex camera setup. Now, you can start using your camera and make the most of it.
Troubleshooting the Lorex Camera Setup Issues
If you are having trouble with the Lorex 4K camera setup, there could be an issue. You can try the following methods to fix the problems with the camera:
Inspect the Power Source
- You must plug the camera into a reliable power source for the camera to work properly.
- Without a power source, the camera will not work at all.
- Thus, check the current electrical outlet of the camera.
- If it’s not working, you must plug the camera into another power source.
Verify the Cable Connections
- You could be facing an issue due to an improper cable connection as well.
- Therefore, ensure to connect the cables in the DVR correctly.
- Ensure the cable in the router and the DVR is plugged in properly.
- Otherwise, the camera will not have a proper WiFi connection.
- If any cable is defective, you must replace it.
Power Cycle the Camera
- You can also try power cycling the camera to fix the issues.
- The power cycle fixes the glitches and bugs with the camera.
- All you need to do is power off and unplug the camera.
- After 1 minute or so, you can power the camera back on.
- This should eliminate any issues with the camera.
These are some methods you can use to fix the Lorex 4K camera setup issues. Now the camera should be working properly. If there are any other issues you are having with your camera, you can connect with our expert team right now.
FAQs
Can I use Lorex cameras with a third-party security system?
Lorex cameras are designed to work with the Lorex cameras only. Their performance with other security systems will not be as good as with the original cameras. Thus, you must use the Lorex cameras with the original security system only.
Can I view my Lorex cameras on multiple devices?
Yes, you can manage your cameras on several devices. The Lorex cameras come with mobile apps as well. All you need to do is install the app and log into your account. After that, you can set up the cameras accurately.
Can I adjust the camera settings remotely?
Yes, you can adjust your camera settings from anywhere using the Lorex Home app. You just need to install the app on your phone. Afterward, you can configure the settings accordingly.
How do I reset my Lorex cameras?
To reset the Lorex camera, the steps are as follows:
- To begin with, locate the reset button on the camera.
- Now, press the reset button and hold it.
- After 10 seconds, you can release the button.
- The LED light on the camera should start flashing.
- At last, the factory default settings are back.
These are the steps for the reset. Hereon, you can set up the camera from scratch. Ensure to set up the camera correctly.