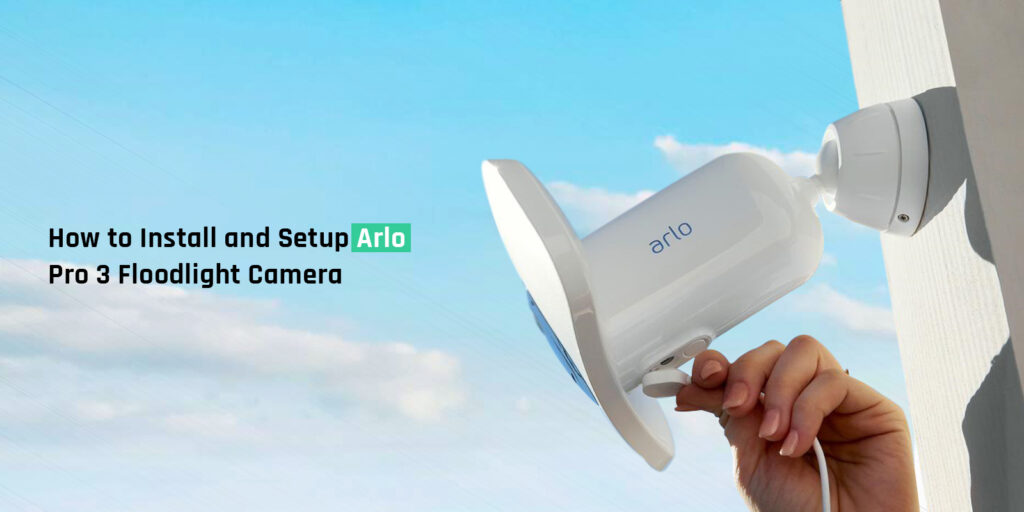
The Arlo Pro 3 floodlight camera is a highly-rated wireless home security camera that helps you keep an eye on everything happening around your home. The Arlo Pro 3 floodlight camera setup makes sure you get the best vision even in the darkest of environments. There are various brands of home security cameras on the market, but Arlo is a brand that is preferred by most users.
Setting up the Arlo Pro 3 floodlight camera is an easy task for those who follow the instructions very carefully. Even if you are a new user or a beginner, you will find it easy to configure the camera’ settings. However, if you don’t follow the instructions carefully, you will end up in a lot of hassle.
So let’s start this post by discussing the basic requirements to setup and install the Arlo Pro 3 floodlight camera.
Requirements for Arlo Pro 3 floodlight camera setup
Before you go ahead with the Arlo Pro 3 camera’s installation, there are certain things that you either need to remember or ensure are in place. Have a look at the points below to learn about the Arlo Pro 3 floodlight camera’s installation:
- Unconfigured Arlo Pro 3 camera
- An active WiFi network
- WiFi credentials of your network
- Fully charged battery
- A smartphone or tablet
- Suitable place for your Arlo camera
- An active Internet connection
Next, you can go about the Arlo Pro 3 camera setup and installation. Please refer to the subsequent section.
Setup Arlo Pro 3 floodlight camera
To setup Arlo Pro 3 floodlight camera, you can follow the necessary steps given in this section of the page. Simply follow the instructions carefully in order to avoid any end-moment hassle:
- Firstly, download and install the Arlo Secure app from the App Store or Play Store.
- Turn On your camera by pressing the bottom located at the bottom of your device.
- After that, you will see amber light blinking at the front of your camera.
- Launch the Arlo Secure app on your device and you will be asked to login.
- Now, you either need to create a new account or use your existing account’s credentials.
- Once you login, tap + in the top-right corner of the app screen.
- Thereafter, select Arlo Pro 3 Floodlight Camera from the list of compatible devices.
- Follow the on-screen instructions to connect your camera to your WiFi network.
- Enter the password of your network and tap Join/Connect.
- After that, scan a QR code on your camera once it’s connected to a network.
- Now, if you have a base station, you need to sync your camera with it. If you don’t have the base station, please skip this step.
- At last, mount your camera onto a wall to finalize the installation.
- Finally, the Arlo Pro 3 Floodlight camera will be installed successfully.
How to choose the right location for your camera?
Here are some points you need to keep in your mind while finding or installing your device in a suitable area:
- First of all, the installation place or area must be nearby the wireless router.
- The required signal strength on your camera is approx. 70%.
- The mounting place should not be facing or under direct sunlight.
- Make sure there are no trees or moving objects nearby the camera as they could damage your camera during extreme winds or rainfall.
- The installation place should be at least 6 feet above the ground level.
- Once you get a suitable place for your device, go ahead with the mounting process.
How to maximize the performance of your Arlo Pro 3 floodlight camera?
Follow the tips below to make sure your Arlo floodlight camera works optimally:
- Firstly, keep your camera updated to the latest firmware version.
- Arlo Pro 3 floodlight camera should be getting at least 70% recommended signal strength from your router.
- Configure the motion detection settings in a way that your camera captures every event that happens in front of it.
- Keep your camera fully charged.
- Do not use unauthentic or counterfeit batteries in your camera.
Arlo Pro 3 troubleshooting tips to fix common issues
If you encounter any issues with your Arlo camera, please follow the troubleshooting steps that are mentioned below:
- Firstly, reboot your Arlo Pro 3 floodlight camera.
- After that, make sure the camera is connected to a 2.4GHz network.
- Arlo cameras do not support 5GHz networks.
- If you still face any issues, please login to the Arlo camera and check whether the motion detection feature is enabled.
- If not, enable the motion detection feature and set up the sensitivity to your liking.
- In case the Arlo camera does not work or keeps powering Off, inspect the batteries.
- If the batteries are outdated or faulty, you need to get new batteries from your supplier.
- Moreover, if you observe your Arlo camera disconnecting every now and again, please bring your Arlo Pro 3 floodlight camera a little closer to the wireless router.
- If you see any functionality issues on your device, please update its firmware to the latest version.
- Firmware upgrade brings bug fixes, functionality improvements, and other enhancements to your camera.
Conclusion
This page was all about the Arlo Pro 3 floodlight camera setup and installation. We talked about everything related to the Arlo camera and how you can resolve the issues if you face them on your camera. We hope this page was useful to you and that it taught you how to set up and configure your Arlo Pro 3 floodlight camera using the Arlo Secure mobile app.
If you experience any bugs on your device or you want answers to your queries, please feel free to talk to our support team for more help.
FAQs
How far can the floodlights of the Arlo Pro 3 reach?
Arlo cameras have a pretty amazing sight. For instance, the Arlo Pro 3 floodlight camera can easily capture events happening up to the range of 23 feet. Moreover, it also depends on the motion detection sensitivity configured on your camera.
What is the field of view offered by the Arlo Pro 3 Floodlight Camera?
The Arlo cameras come with a viewing angle of 160 degrees. Moreover, you can also decrease the field of view to 110 degrees.
Is the Arlo Pro 3 Floodlight Camera compatible with other smart home devices?
Yes, Arlo Pro 3 floodlight camera is compatible with many other smart home devices. You can integrate your camera with Amazon Alexa, Google Assitant, and Apple HomeKit. Make sure you login to the Arlo Secure app to configure these settings.
Are there any subscription fees associated with using the Arlo Pro 3 Floodlight Camera?
Yes, there are multiple subscriptions offered by Arlo. You can choose your ideal subscription plan as per your usage and requirement.