Setting up an Arlo Pro 2 camera is easy, and anyone without technical knowledge may do it. With the aid of the equipment and components included in the package, the Arlo Pro 2 camera setup is incredibly simple to do.
You can follow the instructions on this page to set up and mount an Arlo security camera. We will also go through how to control and connect the Arlo Pro 2 camera setup to the base station. You can discover some commonly asked questions from Arlo users at the end of this article. That FAQ area will assist you in finding answers to the majority of your questions and problems.
Requirements for Arlo Pro 2 cameras setup
Only a few of the items listed below are necessary for setup and installation of the Arlo Pro 2 camera setup:
- A WiFi-connected Arlo Pro 2 camera
- Fully charge batteries
- Either a tablet or a phone
- The ideal place to put the camera
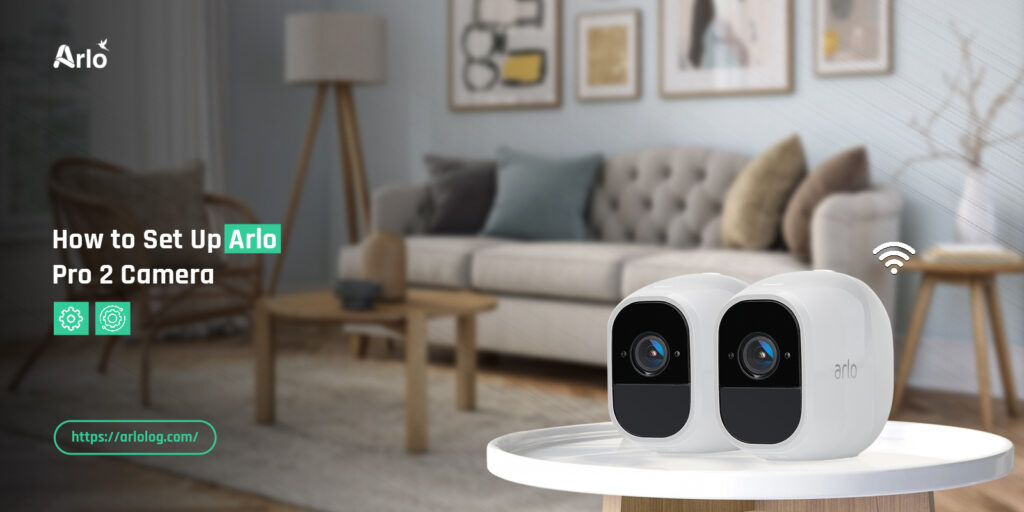
How to set up Arlo Pro 2 camera
This part of the page will deal with the Arlo Pro 2 camera setup configuration and installation. Follow this section till the end in order to avoid missing any useful info:
Download the Arlo app
- Install the Arlo Secure app on your tablet or smartphone by first downloading it.
- You may configure or manage Arlo products at your convenience with the free smartphone app Arlo Secure.
- Both the iOS and Android operating systems support the app.
Connect the Arlo Pro 2 camera
- On your mobile, open the Arlo Secure app. Scroll to the bottom of the app screen.
- Next, select Add New Device, then select Lights.
- To connect without a SmartHub, click
- Tap the Continue button if you selected Connect without SmartHub.
- Verify that you are connected to a 2.4 GHz WiFi network by double-checking your smartphone settings.
- Reopen the Arlo App and select Continue.
- Enter the WiFi network’s SSID and password last, then click Continue. This concludes the device configuration phase of the Arlo Pro 2 cam setup.
Insert battery & configure settings
- The most crucial component of the Arlo Pro 2 camera configuration is this.
- Tap Continue after you have put the battery in your camera.
- Tap Continue after keeping your Arlo WiFi camera free from its enclosure.
- When the blue LED of your Arlo starts blinking, tap Continue.
- The Arlo Secure app must then read the QR code on your Arlo camera.
- After you have scanned the QR code, tap Continue.
- Your camera will be found in the Arlo app.
- Give your Arlo camera a unique name, then tap Continue.
- The Arlo Secure App will finally be connected to the Arlo camera.
- To install the Arlo Pro 2 camera system, select Continue and proceed.
Find a suitable location for Arlo Pro 2 camera
- Make sure the Arlo battery is completely charged before tapping Continue.
- Mount the wall plate before you fasten the housing and orient the Arlo.
- Thereafter, select Continue.
- Before tapping Continue, double-check the location of your Arlo camera.
- Complete the settings, then select Continue. The installation of the Arlo Pro 2 cameras will be finished.
Conclusion
That was all about the Arlo Pro 2 camera setup and installation. We hope you learned how to set up Arlo Pro 2 camera without any hassle, using the Arlo Secure mobile app. You can download and install the Arlo Secure app from the App Store or Play Store.
We hope you found this post helpful and that it allowed you to go through the initial configuration of your device without any fuss. For more information or help, feel free to talk to our support team.